Trong bài này, mình sẽ hướng dẫn tạo trang contact sử dụng html, css và js. Trang bao gồm chia thành 2 cột, cột trái là thông tin có icon và hình ảnh, cột phải là form contact kết hợp sử dụng plugin contact form 7.
Đây là layout sau khi thực hiện xong:

Layout form contact
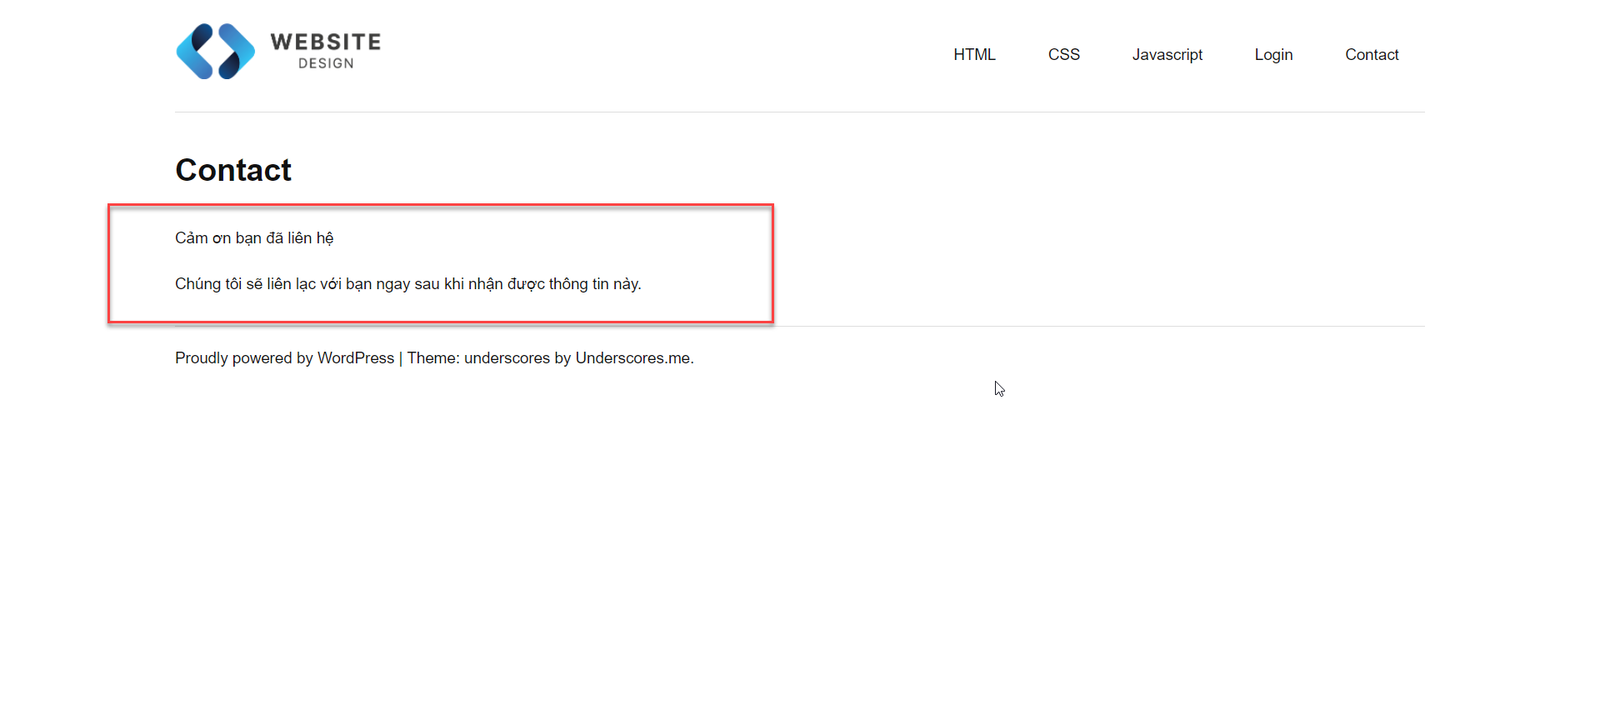
Và đây là thông báo cảm ơn, nếu submit thành công:

Hiện thông báo cảm ơn sau khi gửi thành công
1. HTML
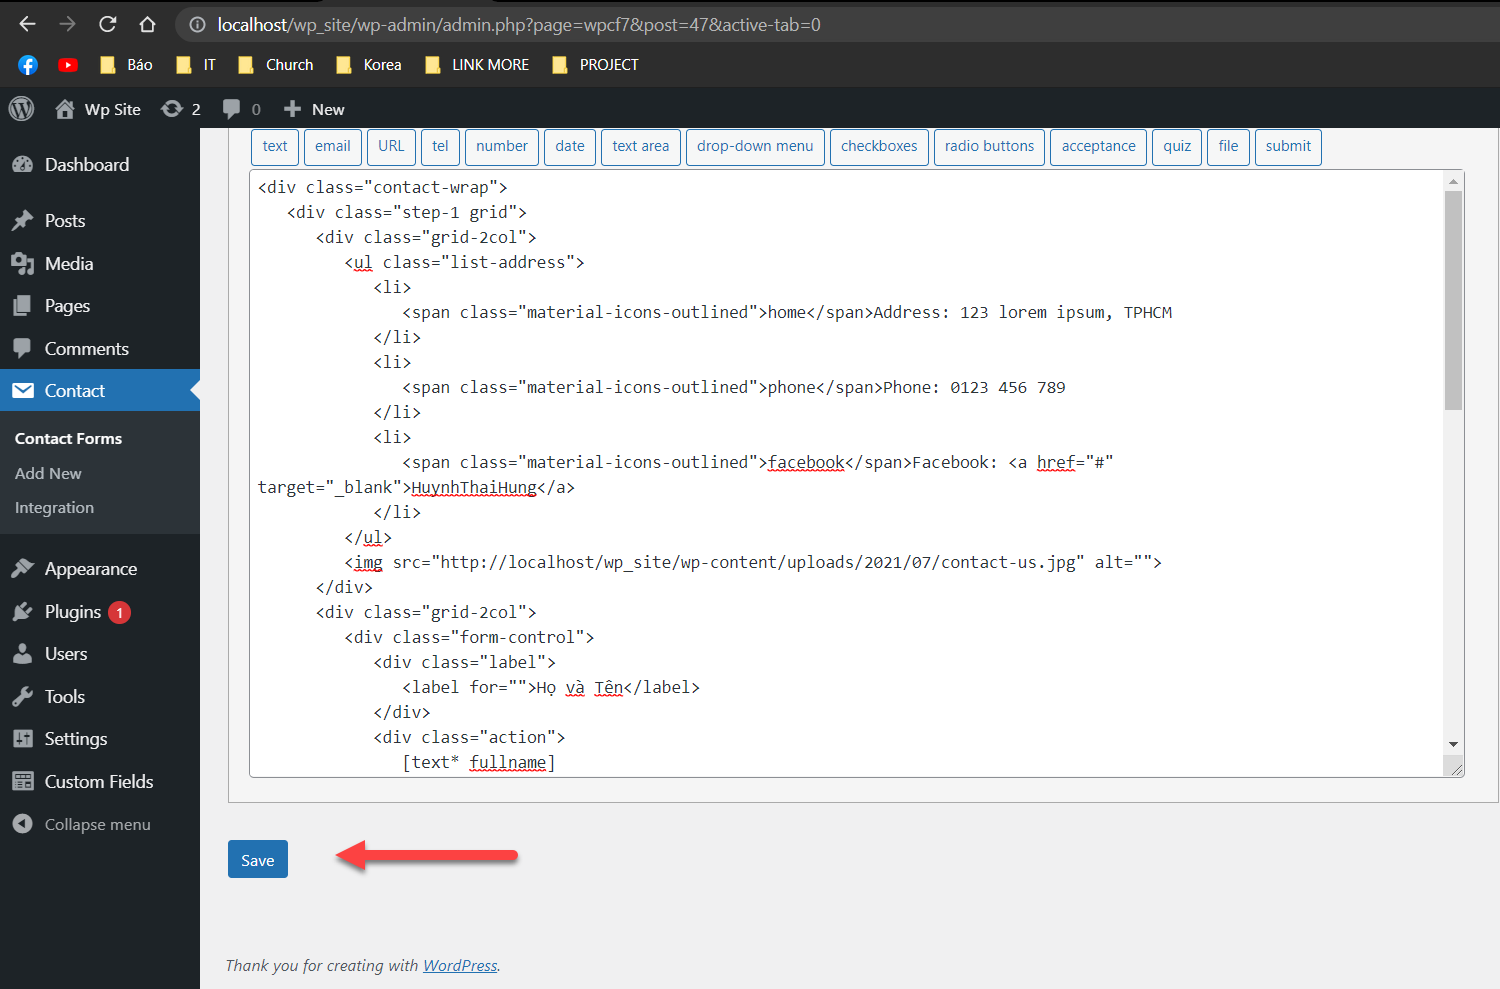
Bạn hãy copy paste source vào contact form 7.
<div class="contact-wrap">
   <div class="step-1 grid">
      <div class="grid-2col">
         <ul class="list-address">
            <li>
               <span class="material-icons-outlined">home</span>Address: 123 lorem ipsum, TPHCM
            </li>
            <li>
               <span class="material-icons-outlined">phone</span>Phone: 0123 456 789
            </li>
            <li>
               <span class="material-icons-outlined">facebook</span>Facebook: <a href="#" target="_blank">HuynhThaiHung</a>
            </li>
         </ul>
         <img src="http://localhost/wp_site/wp-content/uploads/2021/07/contact-us.jpg" alt="">
      </div>
      <div class="grid-2col">
         <div class="form-control">
            <div class="label">
               <label for="">Họ và Tên</label>
            </div>
            <div class="action">
               [text* fullname]
            </div>
         </div>
         <div class="form-control__half">
            <div class="label">
               <label for="">Địa chỉ Email</label>
            </div>
            <div class="action">
               [email* email]
            </div>
         </div>
         <div class="form-control__half">
            <div class="label">
               <label for="">Số điện thoại</label>
            </div>
            <div class="action">
               [text* phone]
            </div>
         </div>
         <div class="form-control">
            <div class="label">
               <label for="">Nội dung</label>
            </div>
            <div class="action">
               [textarea message]
            </div>
         </div>
         <div class="form-control">
            [submit "Gửi liên hệ"]
         </div>
      </div>
   </div>
   <div class="step-2">
      <p>Cảm ơn bạn đã liên hệ</p>
      <p>Chúng tôi sẽ liên lạc với bạn ngay sau khi nhận được thông tin này.</p>
   </div>
</div>
Như hình

2. CSS
Dán vào file css của website
.page-contact .grid {
  display: flex;
}
.page-contact .grid .grid-2col {
  flex-basis: calc( 50% - 15px);
  margin-left: 7.5px;
  margin-right: 7.5px;
}
.page-contact .grid .grid-2col:first-child {
  margin-left: 0;
}
.page-contact .grid .grid-2col:not(:first-child) {
  margin-right: 0;
}

.page-contact .form-control {
  margin: 0 7.5px;
  margin-bottom: 15px;
}
.page-contact .form-control__half {
  margin: 0 7.5px;
  margin-bottom: 15px;
  width: calc( 50% - 15px);
  float: left;
}

.page-contact input,
.page-contact select,
.page-contact textarea {
  width: 100%;
  border: solid 1px #cdcdcd;
  padding-left: 10px;
  padding-right: 10px;
}

.page-contact textarea {
  height: 117px;
}

.page-contact label {
  font-weight: 700;
  color: #164172;
}

.page-contact [type="submit"] {
  width: auto;
  padding: 10px 50px;
  background-color: #164172;
  position: relative;
  border: none;
  color: #fff;
  text-transform: uppercase;
}
.page-contact [type="submit"]:hover {
  cursor: pointer;
}

.page-contact .list-address {
  list-style: none;
  padding-left: 0;
}
.page-contact .list-address li {
  display: flex;
  margin-bottom: 10px;
}
.page-contact .list-address li span {
  margin-right: 25px;
  color: #164172;
}

.page-contact .step-2 {
  display: none; }

.page-contact .wpcf7-response-output {
  display: none;
}

@media screen and (max-width: 768px) {
  .page-contact .grid {
    display: block;
  }
  .page-contact .grid .grid-2col {
    flex-basis: 100%;
  }
}
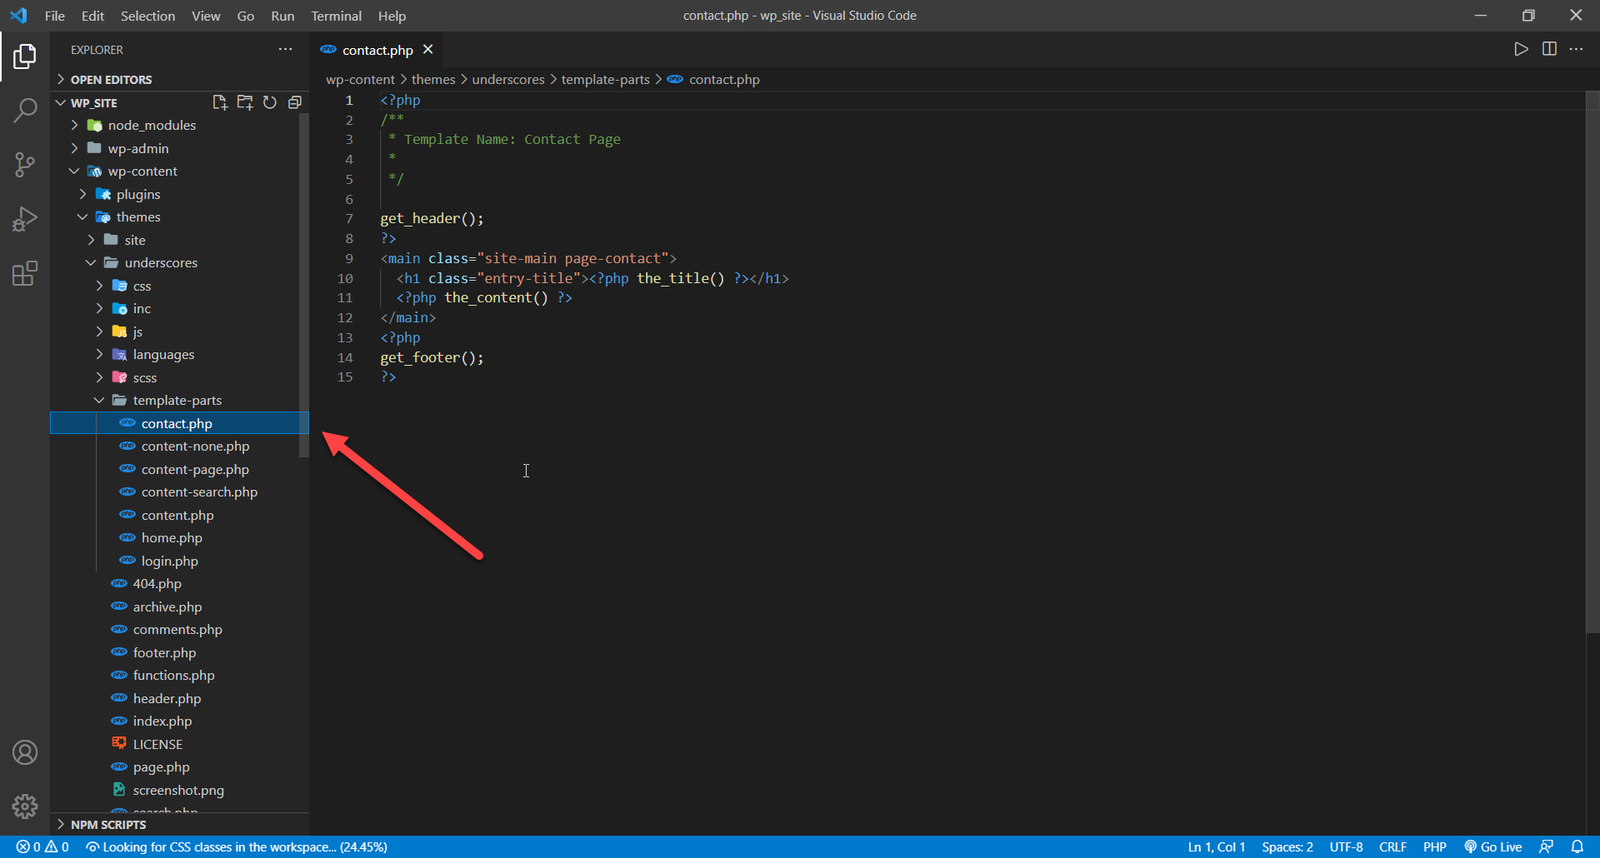
3. Tạo template cho trang contact

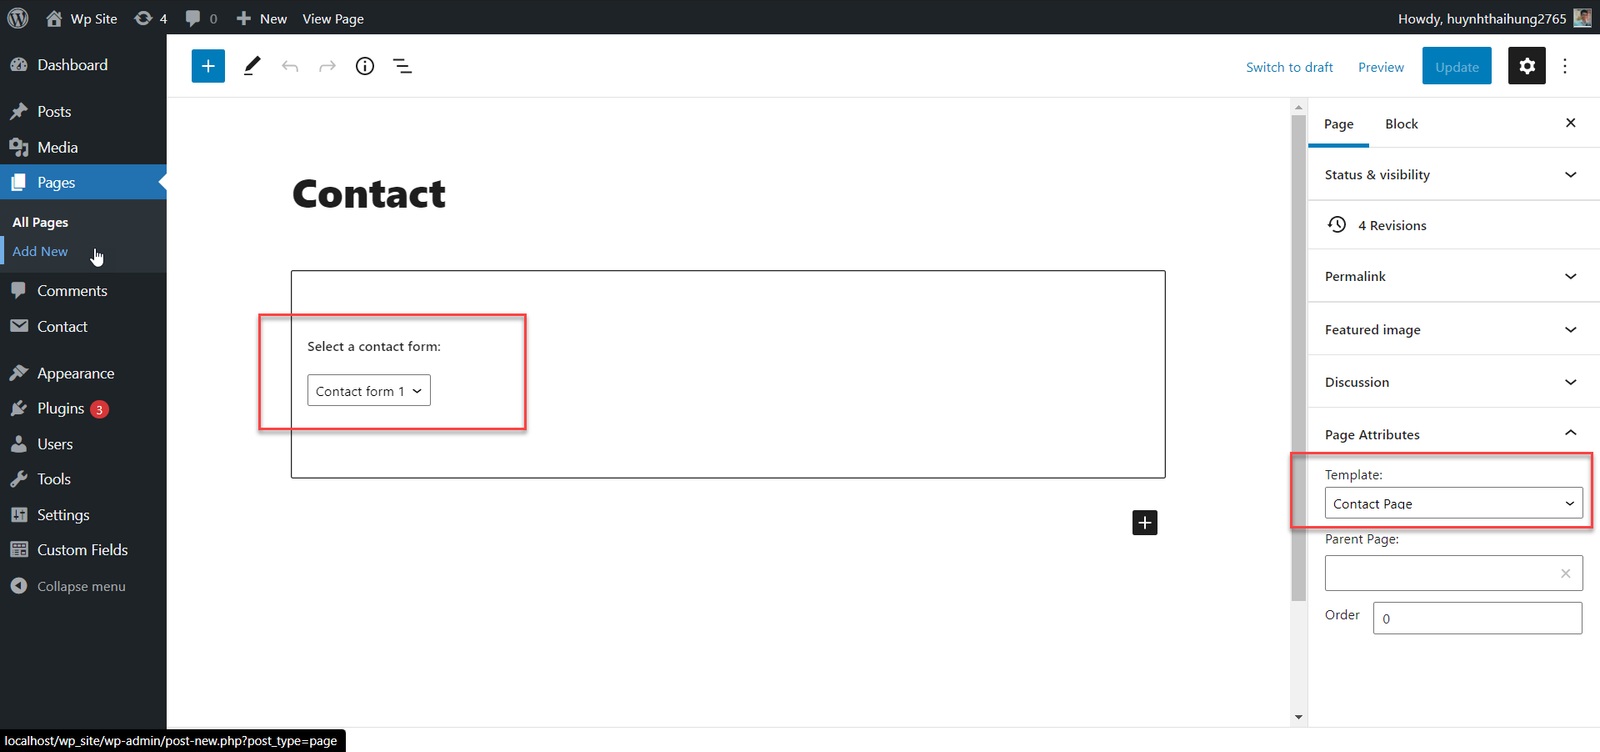
4. Tạo page

5. JS cho website hiện thông báo cảm ơn
( function( $ ) {
	var wpcf7Elm = document.querySelector( '.wpcf7-form' );

  wpcf7Elm.addEventListener( 'wpcf7mailsent', function( event ) {
    alert( "Fire!" );
    $(".step-1").hide();
    $(".step-2").show();
  }, false );


}( jQuery ) );
Hướng dẫn thêm:
Những icon được sử dụng từ google icon, nếu bạn muốn dùng thì add vào file header của mình
<link href="https://fonts.googleapis.com/css?family=Material+Icons|Material+Icons+Outlined|Material+Icons+Two+Tone|Material+Icons+Round|Material+Icons+Sharp" rel="stylesheet">
Chúc bạn thành công
Xem thêm:


